YesVideo Australia are located at Suite 7, Level 1, 108 Bronte Road, Bondi Junction NSW 2022.

02 9959 3472
Photo Features: Editing Photos
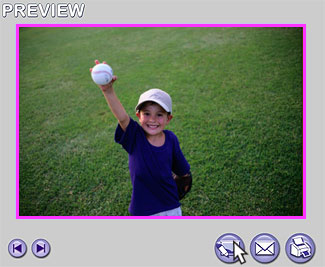
To edit a photo, click once on the photo in the Library. The photo will appear in the Preview window.
- Click the Edit Selected Image button with the icon of a pencil and a photo located to the lower right of the photo preview window, or click on Edit on the file menu bar, and select Edit Photo/Trim Video. The Edit Photo window will open.
- Select the type of editing you wish to do using the buttons on the left side of the Edit Photo button.
- You can undo your last edit by clicking on Undo Last Edit or redo your move by clicking on Redo Edit. You can only undo or redo your very latest edit.
The newly edited photo will appear in your Library immediately
following the original photo with a pencil icon appearing in the
lower right corner ![]() .
Your original photo will not be changed.
.
Your original photo will not be changed.
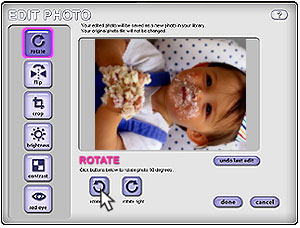
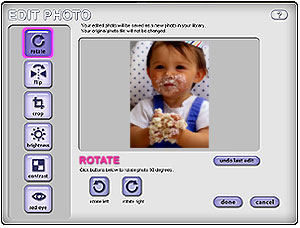
To rotate a photo:
Use the Rotate Left and Rotate Right
buttons to rotate the photo 90 degrees with each
click. To continue rotating an image, click on the
Rotate buttons. Once finished rotating the image,
click on the Done button, or click on one of the
other Edit buttons on the left.
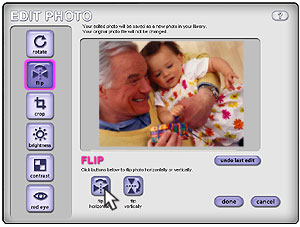
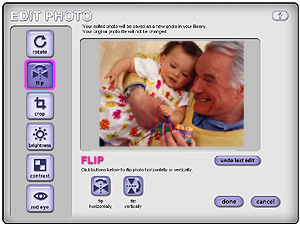
To flip a photo:
Select the type of flip. A horizontal flip
trades the left and right sides. A vertical flip
changes the top and bottom. Once finished flipping
the image, click on the Done button, or click on
one of the other Edit buttons on the left.
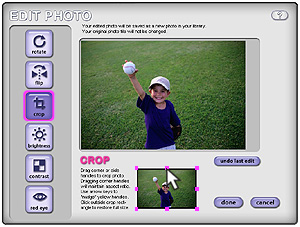
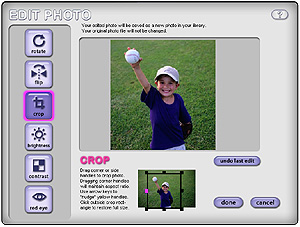
To crop a photo:
Using your mouse, click and drag the small pink
"handles" which appear around the photo image in
the small preview window beneath the photo preview.
Drag the corner handles to scale the photo
proportionally, maintaining the aspect ratio. Use
arrow keys on keyboard to nudge the pink handles a
step at a time. Click outside the cropped preview
rectangle to restore the photo to its original
size. Once finished cropping the image, click on
the Done button, or click on one of the other Edit
buttons on the left.
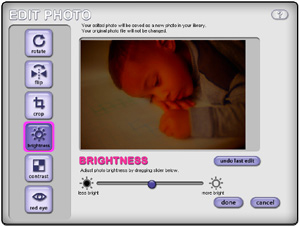
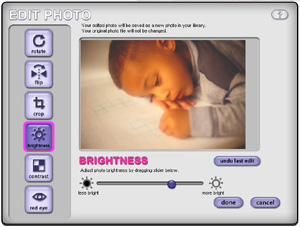
To adjust the contrast of your
photo:
Adjusting the contrast in your photo will
affect the distinction between the lighter and
darker areas of your photo. Drag the slider to the
right to increase or to the left to decrease the
contrast. Once you have finished, click on the Done
button, or click on one of the other Edit buttons
on the left.
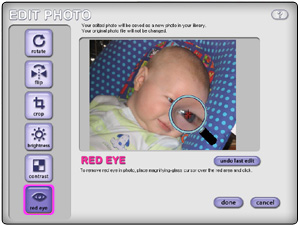

To remove "red eye" in your photo:
Move your cursor over the photo preview.
The cursor becomes a magnifying glass. Move the
glass over the red eye and click to remove the red.
Once you have finished, click on the Done button,
or click on one of the other Edit buttons on the
left.